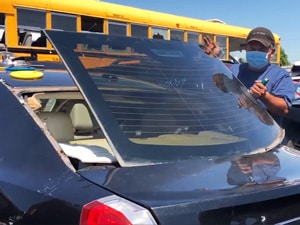
Windshield—or “windscreen” removal, for our international colleagues—has long been a challenging process for body shops and salvage yards. Traditional methods often require an arsenal of tools, such as socket wrenches, lubricants, pry bars, utility knives, and cutting wires, making the task time-consuming and labor-intensive.
Induction heating technology provides a transformative solution. The Inductor® Series Glass Blaster® simplifies the process, eliminating the need for bulky, outdated tools. Designed for efficiency, the Glass Blaster utilizes induction heat to release urethane adhesives cleanly and precisely, minimizing the risk of damage to surrounding materials.
This innovative tool operates externally, bypassing the need to remove interior trim or compromise vehicle components. With its included L-wedges and comprehensive training video, the Glass Blaster allows technicians to safely and efficiently remove windshields in under 15 minutes. The process is even faster for smaller components like quarter glass—just three minutes.
By preserving the integrity of the encapsulant and frit (blackout masking), the Glass Blaster ensures professional, damage-free results, saving time and enhancing productivity.
How It Works
The Glass Blaster uses advanced electromagnetic induction technology to generate precise and efficient heat. We use a five-step process that is the guideline for using the Glass Blaster® successfully.
5 STEPS TO WINDSHIELD REMOVAL
With the Inductor® Glass Blaster®
- Locate the urethane bead by using an L-wedge. From inside the car, push the long portion of the L-wedge between the glass and pinch weld until it hits the urethane bead.
- Bring the L-wedge to the outside and make a marking on the glass where the urethane bead is located. Do this to all four sides of the glass.
- Spray water or Cold Shield Thermal Gel around the window to protect the paint from overheating. Spray the frame evenly and remove excess liquid from the glass. (Optional)
- Starting near a corner, work an L-wedge into the gap between the automotive glass and the vehicle body. Apply a gentle prying outward pressure.
- Simultaneously with step 4, work the Glass Blaster smoothly and slowly in both directions until the corner pops loose. Continue this method all the way around.
Additional Applications
The Inductor Glass Blaster isn’t limited to windshield removal—it excels in a variety of other applications, making it indispensable for automotive professionals.
- Bonded Auto Glass: Quickly and efficiently removes other types of bonded glass beyond windshields.
- SMC Panels: Easily detaches Sheet Molding Compound (SMC) panels without damaging underlying components.
- Metal Bond Adhesives: Loosens tough metal adhesives with precision, saving time and effort.
- Undercoating: Removes undercoating materials cleanly and without harsh chemicals.
- Appliqués: Simplifies the removal of decals, trim pieces, and appliqués without residue or damage.
- Spray-On Bedliners: This breaks down spray-on bed liners in a fraction of the time required by traditional methods.
The Glass Blaster dramatically reduces labor time across these tasks, delivering professional-grade results with unmatched speed and efficiency.The Glass Blaster dramatically reduces labor time across these tasks, delivering professional-grade results with unmatched speed and efficiency.
-

January 30, 2026
Professional Automotive Repairs Powered by the Inductor® Max
The Inductor® Max is engineered for professional auto body and mechanical shops that demand precision,…January 30, 2026
Professional Automotive Repairs Powered by the Inductor® Max
The Inductor® Max is engineered for professional auto body and mechanical shops that demand precision,… -
April 29, 2022
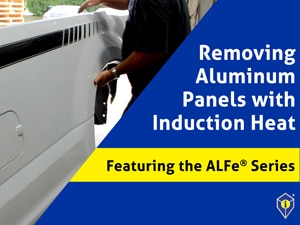
How to Remove an Aluminum Panel off a Pickup Truck with Induction Heat
Did you know you can remove an aluminum panel off of a truck with induction…April 29, 2022
How to Remove an Aluminum Panel off a Pickup Truck with Induction Heat
Did you know you can remove an aluminum panel off of a truck with induction… -
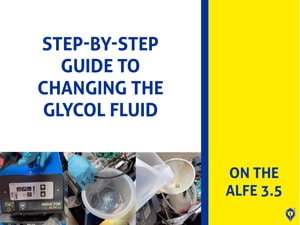
March 4, 2022
Step-By-Step Guide to Changing the Glycol Mixture on the ALFe 3.5
Our induction heating systems require maintenance services from time to time. One example of that…March 4, 2022
Step-By-Step Guide to Changing the Glycol Mixture on the ALFe 3.5
Our induction heating systems require maintenance services from time to time. One example of that… -
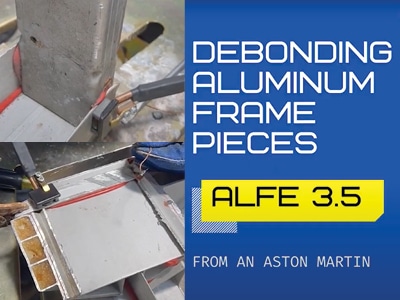
February 18, 2022
Can the ALFe 3.5 Debond Aluminum Frame Pieces of an Aston Martin?
The ability to connect with customers and their applications is of great importance to us…February 18, 2022
Can the ALFe 3.5 Debond Aluminum Frame Pieces of an Aston Martin?
The ability to connect with customers and their applications is of great importance to us…
