Your cart is currently empty!
Download the Step-By-Step Guide Here
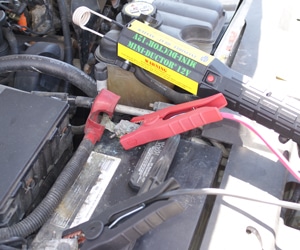
Mobile mechanics and technicians don’t always have access to an outlet when repairs are needed. That’s why releasing rusted components quickly, with a portable tool can make a huge difference in the field! Luckily, Induction Innovations® manufactures powerful induction heating tools such as the Battery-Powered Mini-Ductor® 12 Volt, specifically for seized lug nut removal in the field or roadside repair.
The Mini-Ductor 12 Volt can be used for several applications where rusted, corroded, or thread-locked parts need to be removed quickly and safely when you’re not near an outlet.
About the Mini-Ductor 12 Volt
The Mini-Ductor 12V (MD-500) is our completely portable, battery-powered induction heating unit. This unit runs off a 12-volt battery pack, whether that be from a car, van, or truck battery. The kit features 12V battery clamps and a 9’ cord, which provides extra length for quick and easy mobile repair.
Similar to other Mini-Ductor Models, the MD-500 features a bright white LED lamp that illuminates your work surface and coil-securing thumbscrews. It features a durable reinforced thermal plastic housing and a slip-resistant grenade-style grip. In addition to that, it includes discharge battery protection, thermal overload protection, reverse polarity protection, and over-voltage protection.
The MD-500’s output is up to 840 watts with a fully charged (or new) 12V battery. The kit includes an operating manual, a custom rugged carrying case, and three coils:
*Note the Bearing Buddy® coil does not work with the MD-500
Step-By-Step Guide to Seized Lug Nut Removal with the Battery-Powered Mini-Ductor
- Step One — Open the hood and attach the 12 Volt clamps to a vehicle battery or 12v battery pack.

- Step Two — Remove the wheel cover to gain access to the lug nuts.

- Step Three — Find the correct sized induction heating coil by holding it up to the lug nut you want to remove. Make sure to leave a small gap between the nut and the coil. If your coil is up tight against the lug nut, you can potentially burn up your coils quickly and possibly short out your unit.

- Step Four — Lock your induction heating coil into the Mini-Ductor 12V by inserting the coil ends into the unit and turning the thumbscrews simultaneously.

- Step Five — Heat the lug nuts in cycles of 10-15 seconds.

- Step Six — Try to loosen the lug nut and see if it will come off. If not, keep repeating the 10-15 second cycle until you can get it loose.

- Remove the lug nut!

Contact Us:
Have questions? Reach out to us via phone at 877-688-9633 or email at [email protected].
Follow us on social media: Facebook • Instagram • LinkedIn • TikTok • YouTube
-

September 10, 2025
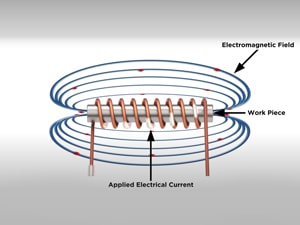
What is Induction Heating? How It Works, Benefits & Tools
Induction heating is a fast, precise, and Flameless® method of heating electrically conductive materials using…September 10, 2025
What is Induction Heating? How It Works, Benefits & Tools
Induction heating is a fast, precise, and Flameless® method of heating electrically conductive materials using… -
August 12, 2025
How Induction Heating Works: Technology, Benefits & Applications
Induction heating technology is transforming industries by providing fast, efficient, and precise heating solutions. Whether…August 12, 2025
How Induction Heating Works: Technology, Benefits & Applications
Induction heating technology is transforming industries by providing fast, efficient, and precise heating solutions. Whether… -
March 14, 2025
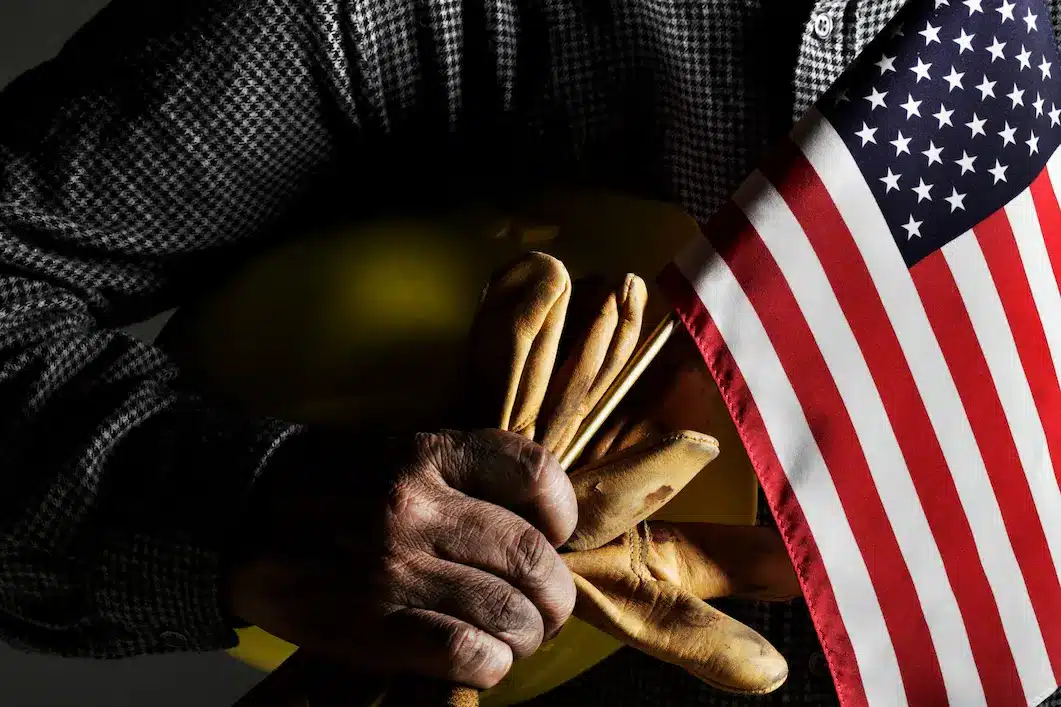
The Benefits of Buying American-Made Induction Innovations Products
When you choose American-made induction heating tools from Induction Innovations, you’re not just purchasing a…March 14, 2025
The Benefits of Buying American-Made Induction Innovations Products
When you choose American-made induction heating tools from Induction Innovations, you’re not just purchasing a… -
April 16, 2024
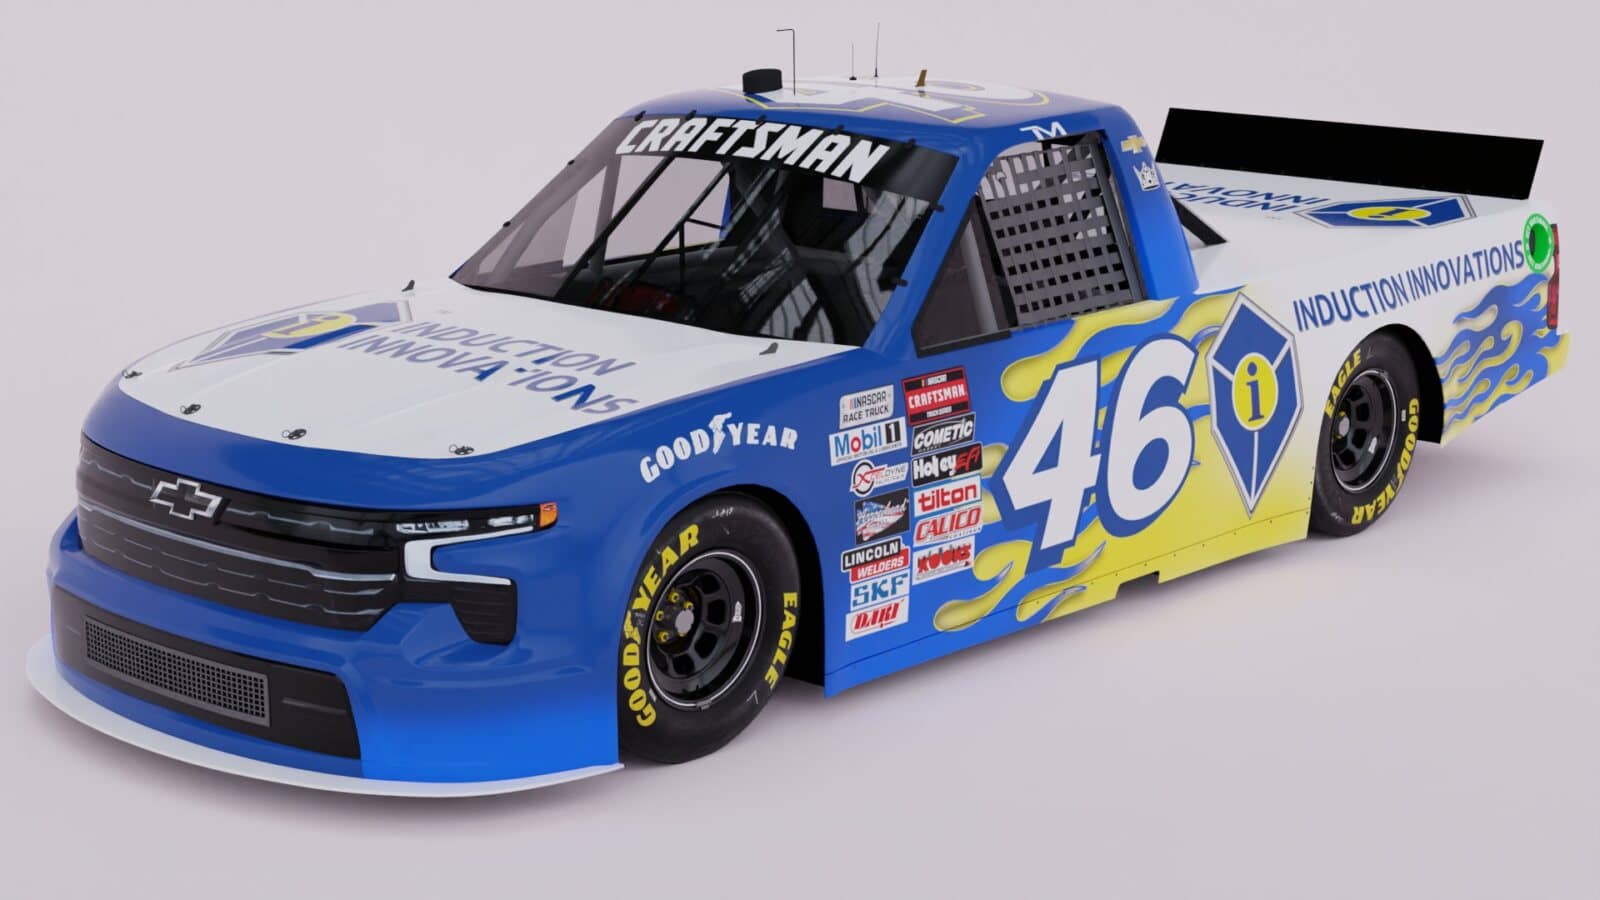
Induction Innovations NASCAR Sponsorship
All of us at Induction Innovations are thrilled to announce a partnership with Thad Moffitt,…April 16, 2024
Induction Innovations NASCAR Sponsorship
All of us at Induction Innovations are thrilled to announce a partnership with Thad Moffitt,…
