Your cart is currently empty!
How to Remove the Plastic Injections in U-Joints
If you have ever worked on a General Motors vehicle and needed to remove the u-joints, you might know that GM secures U-joints by injecting them with hot, fibrous plastic. From the 1990s onward, these plastic injected u-joints have been quite effective in keeping the u-joint secured to the driveshaft.
After years of corrosion build-up, replacing those u-joints can be difficult not only because of the rust, but because the plastic holds the joint to the shaft. The plastic also goes all the way around the joint, covering a larger surface area.
In their latest video, Shop Tool Reviews shows you the best method to remove the plastic from the u-joint by using induction heat, a traditional torch, and sheer force to get it free from the driveshaft.
Traditional Methods: Using the Torch
 Before we get started, Tim Johnson of Shop Tool Reviews notes that he is working with the front driveshaft and u-joint of a 2003 Chevy Silverado truck. He recommends only using heat on the front shaft since it consists of steel (a ferrous metal). The back part of the driveshaft is typically made of aluminum.
He first clamps the shaft down to secure it in place and then heats it with a Burns-O-Matic propane torch. The torch works effectively, but we do notice a couple of issues that can be cause for concern in the shop:
- First, there is an open flame in the shop area.
- Second, the torch heats a large surface area, so it ends up covering more than you need to.
- And third, when the plastic comes out, it catches fire.
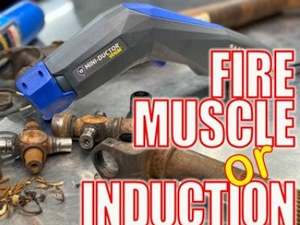
Mini-Ductor Venom: The Safe, Effective Tool to Remove the Plastic Injection
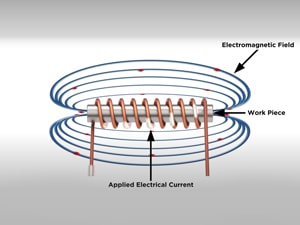
 Now, he switches gears to focus on induction heating technology with the Mini-Ductor® Venom® and a flexible U-form coil that he has formed into loops. Note: the first time around, he only has the coil wrapped twice (in other words, two loops). We suggest ALWAYS having the coil wrapped at least three or four times around your application to get the magnetic field working correctly.
Induction heating proves to be effective in removing the plastic injections. However, the first time he heats it, the process takes just as long as the torch method.
He revisits the induction heating process with the Venom and the coil wrapped three times. The benefits of this over the torch are:
- This method proves to work faster than the torch method.
- There is no open flame with invisible heat.
- The heat is localized to the specific part that needs to be heated.
- When the plastic comes out, it does not catch fire.
Press It Out: Using a Press to Break the U-Joint Free
 After heating the plastic injection out of the u-joint, Tim takes the u-joint and driveshaft and clamps it into a press. The press works to break free a few parts of the entire unit which gets us closer to being able to replace the U-joints.
The press does not release all the parts, so Tim decides he is going to heat the last bit of plastic out with the Mini-Ductor Venom. This process is a success! Now that all the plastic is out and the parts are loose, he will be able to replace the U-Joint as needed.
Grab Your Induction Heating Accessories
For this demonstration, Tim used our Mini-Ductor Venom with our 23” U-form induction heating coil that he wrapped to his specific application. Click here to view our options for the Mini-Ductor Series of handheld, induction heating tools. For more coils of various shapes and sizes, check out our induction heating accessories here.
Watch the full video below!
Contact Us:
Reach out to us via phone at 877-688-9633 or email at [email protected].
Follow us on social media: Facebook • Instagram • LinkedIn • TikTok • YouTube
-

September 10, 2025
What is Induction Heating? How It Works, Benefits & Tools
Induction heating is a fast, precise, and Flameless® method of heating electrically conductive materials using…September 10, 2025
What is Induction Heating? How It Works, Benefits & Tools
Induction heating is a fast, precise, and Flameless® method of heating electrically conductive materials using… -
August 12, 2025
How Induction Heating Works: Technology, Benefits & Applications
Induction heating technology is transforming industries by providing fast, efficient, and precise heating solutions. Whether…August 12, 2025
How Induction Heating Works: Technology, Benefits & Applications
Induction heating technology is transforming industries by providing fast, efficient, and precise heating solutions. Whether… -
March 14, 2025
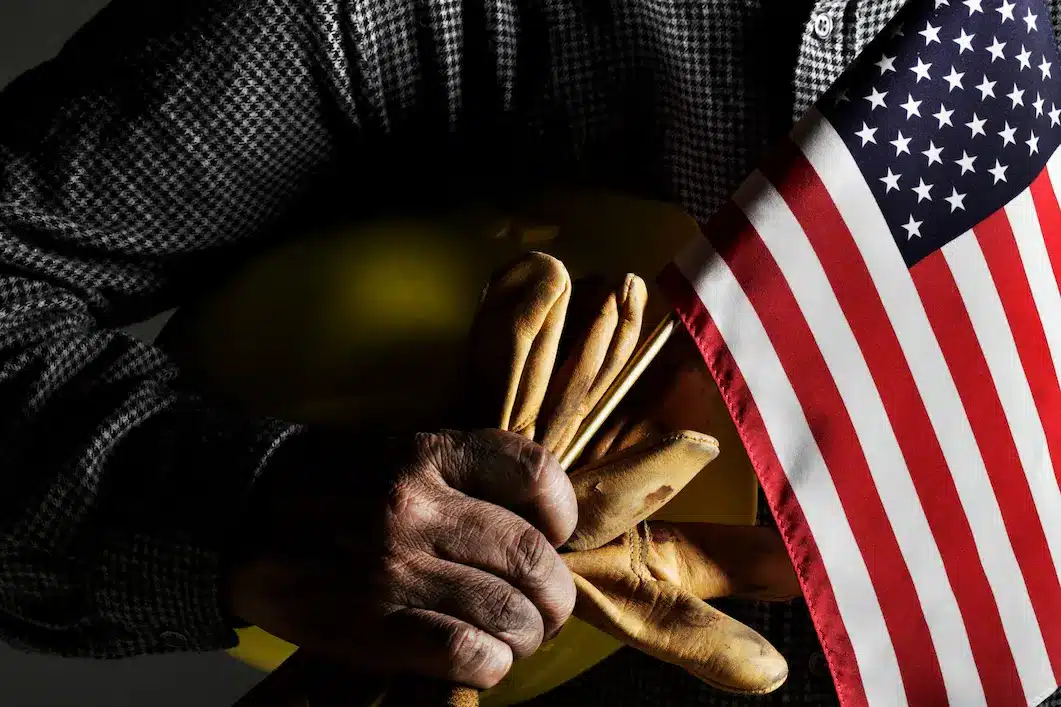
The Benefits of Buying American-Made Induction Innovations Products
When you choose American-made induction heating tools from Induction Innovations, you’re not just purchasing a…March 14, 2025
The Benefits of Buying American-Made Induction Innovations Products
When you choose American-made induction heating tools from Induction Innovations, you’re not just purchasing a… -
April 16, 2024
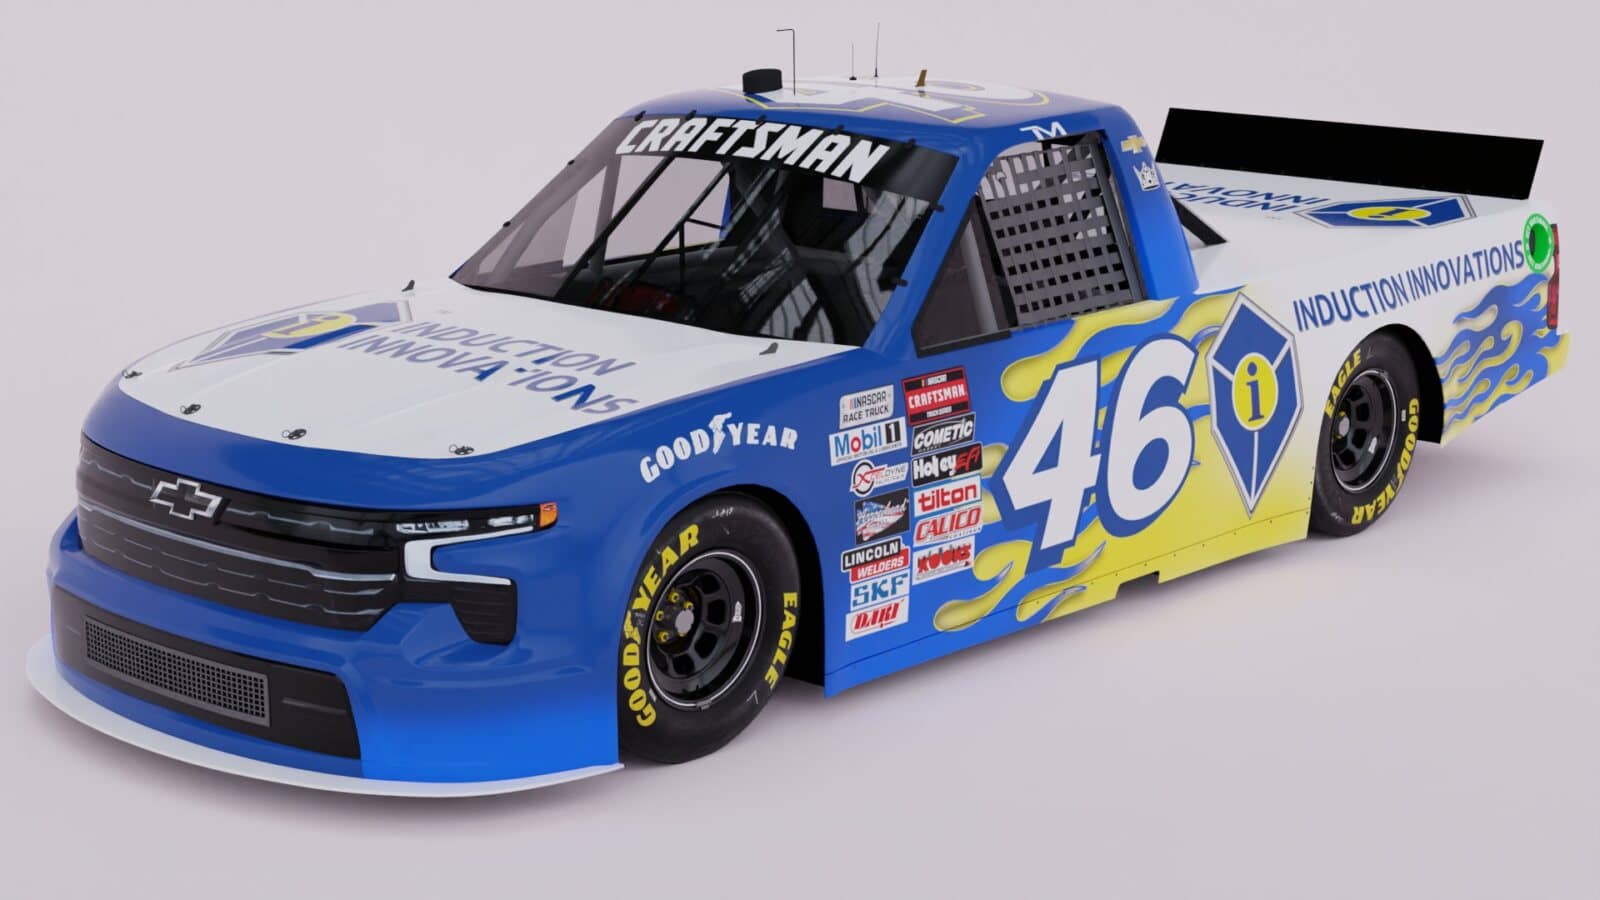
Induction Innovations NASCAR Sponsorship
All of us at Induction Innovations are thrilled to announce a partnership with Thad Moffitt,…April 16, 2024
Induction Innovations NASCAR Sponsorship
All of us at Induction Innovations are thrilled to announce a partnership with Thad Moffitt,…
